 Pin It
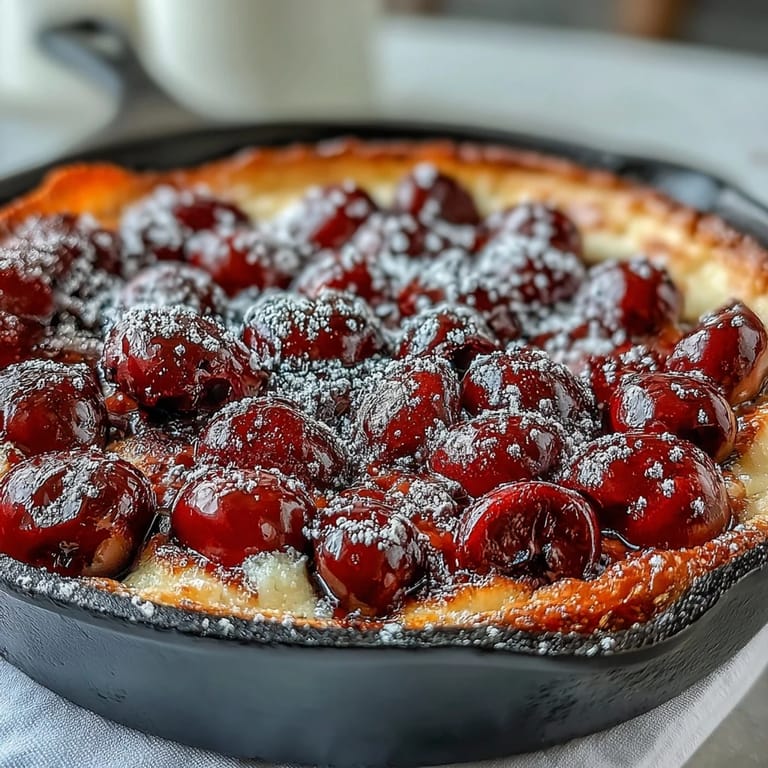
 There's something about the lazy hum of a summer afternoon that always makes me crave this fresh cherry clafoutis. Last July, a neighbor brought over a basket of sun-warmed cherries just as I was considering what to do with a leftover vanilla bean. The resulting aroma that crept into the hallway was enough to send my partner peeking into the kitchen, drawn by curiosity and the promise of dessert. The plump cherries burst through a silky custard in the oven, and the sizzle of butter on the pan made the whole baking process feel like an event. This rustic French treat, both humble and dressed-up, has become one of my favorite ways to mark cherry season.
I first baked clafoutis for friends during an impromptu picnic, with everyone crowded around the kitchen counter pit-staining their fingers as we prepped cherries together. There was laughter, a little juice on my white shirt, and the slight panic of finding I’d misplaced the sifter. The dessert was gone in moments—seconds, really. That day, I learned that even simple desserts have a way of turning gatherings into unforgettable stories.
Ingredients
- Fresh sweet cherries: Ripe cherries give the best texture and their natural juiciness is essential—pit them carefully or embrace tradition and leave them in for an almond hint.
- Large eggs: The eggs set the custard; letting them come to room temperature ensures a smoother batter.
- Granulated sugar: Balances the tartness of the cherries and helps caramelize the custard's top edge.
- Vanilla bean: Real vanilla seeds speckle the batter and add a perfumed depth no extract can match.
- All-purpose flour: A light hand with flour keeps the custard delicate—sift for lump-free mixing.
- Salt: Just a dash sharpens flavors and makes the sweetness come alive.
- Whole milk and heavy cream: Combining both adds richness and a creamy texture without heaviness.
- Unsalted butter: Melting and cooling it before adding means the batter stays tender.
- Butter (for greasing): Coating the dish generously guarantees no sticking and a beautiful crust.
- Powdered sugar: A dusting just before serving gives a pretty finish and a faint sweetness to each bite.
Tired of Takeout? 🥡
Get 10 meals you can make faster than delivery arrives. Seriously.
One email. No spam. Unsubscribe anytime.
Instructions
- Prep Your Pan:
- Before doing anything else, butter your baking dish well, getting into every cranny so the custard doesn't cling.
- Cherry Layer:
- Spread the pitted cherries over the bottom, layering them closely so each bite gives a pop of fruit.
- Batter Beginnings:
- In a large mixing bowl, vigorously whisk the eggs and sugar until the mix lightens in color and thickens slightly—it should feel like velvet slipping off the whisk.
- Add Vanilla and Dry Ingredients:
- Scrape in the vanilla seeds, then sift in flour and sprinkle the salt, whisking until the batter is luxuriously smooth.
- Liquids Go In:
- Slowly pour in the milk, cream, and melted butter in stages, whisking gently to avoid splashes and lumps.
- Bake:
- Pour the creamy batter over the cherries and slide the dish onto the oven's middle rack; you’ll hear the faint bubble as it bakes for about 35 minutes until puffed and golden.
- Cool and Finish:
- Let it cool for at least 15 minutes—it will deflate charmingly as it sets—then shower with powdered sugar before serving, while it’s still just a little warm.
- Serve:
- This clafoutis tastes best shared, eaten out of the dish with spoons or sliced neatly onto plates.
 Pin It
 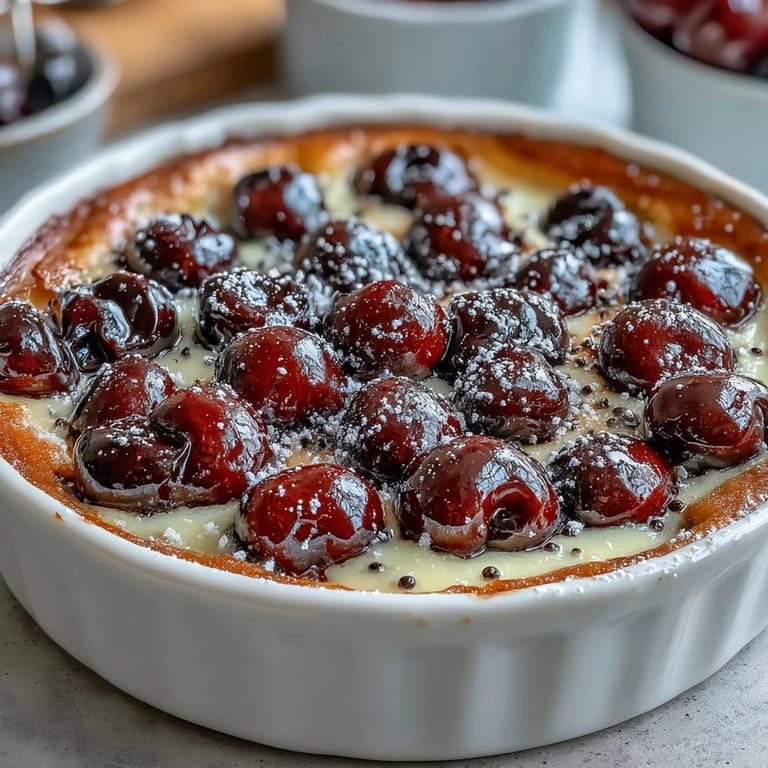 Pin It
 After a rainy afternoon spent baking, I found myself eating a slice of clafoutis with coffee by the window—cherries and vanilla comforting against the drizzle. It was the closest I came that summer to tasting a French countryside morning, without ever leaving my apartment.
What Happens If You Leave The Pits In?
One time, I followed an old French trick and left the cherry pits in for authenticity. The result offered a subtle almond essence, but the real surprise was how considerate everyone became while eating, politely nibbling around the fruit. It's classic, but you do trade ease for that traditional flavor.
Can I Use Other Fruit?
Running low on cherries once, I threw in chunks of ripe apricot and a few stray plums. The texture changed slightly—more jammy and tart with plums—but the custard worked its magic every time. Swapping fruit keeps this recipe in rotation even when cherry season is gone.
How To Serve and Store Cherry Clafoutis
This dessert shines warm from the oven, but don't underestimate a chilled, firmer wedge the next day with coffee. I rarely have leftovers, but if you do, cover the dish tightly and store it in the fridge for up to two days.
- Don’t skip the powdered sugar—it’s more than just decoration.
- Let the clafoutis rest so it slices neatly.
- Serve it straight from the dish for the ultimate comfort dessert moment.
 Pin It
 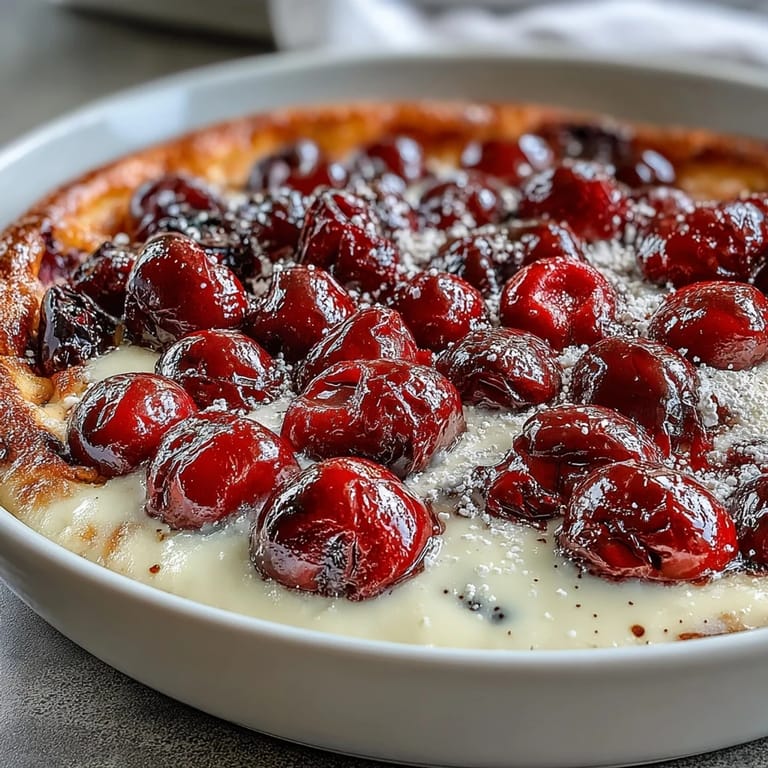 Pin It
 Every summer brings new reasons to revisit this clafoutis and new memories baked into each golden slice. I hope it brings as much joy to your kitchen as it has to mine.
Recipe Questions & Answers
- → Can I leave the cherries unpitted?
Yes. Traditional versions leave stones in for a subtle almond-like note. If you keep them, warn guests about pits; pitting yields an easier eating experience and more uniform presentation.
- → Can I use frozen cherries?
Yes. Thaw and drain well, then pat dry to remove excess moisture. Too much liquid can make the custard loose and extend baking time, so remove as much juice as possible.
- → How do I know when it's done?
The clafoutis should be puffed with lightly golden edges and a slight wobble in the center. The center will set as it cools; avoid overbaking to keep a tender custard texture.
- → Can I substitute the milk or cream?
Yes. Use higher-fat dairy for a richer custard; lower-fat milk will yield a lighter texture. Plant-based milks work but may change mouthfeel and browning slightly.
- → How should I store leftovers?
Cool completely, cover and refrigerate for up to 2 days. Rewarm gently in a low oven (around 150°C / 300°F) for a few minutes if you prefer it warm, or serve chilled at room temperature.
- → Is there a gluten-free flour option?
Use a 1:1 gluten-free flour blend and sift it into the batter to avoid lumps. Texture may be a touch denser, so avoid overmixing and allow a slightly longer rest before baking if needed.