 Pin It
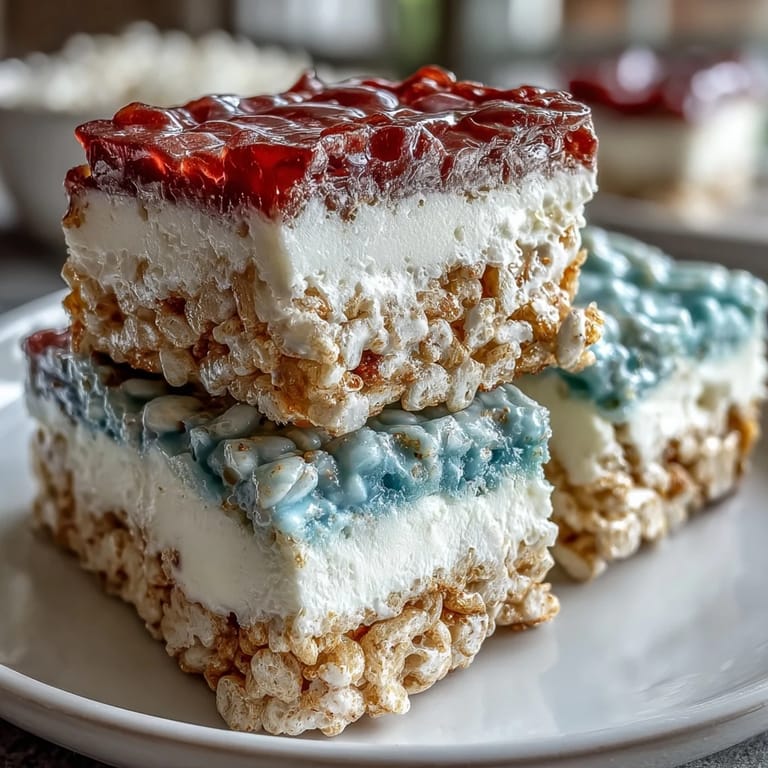
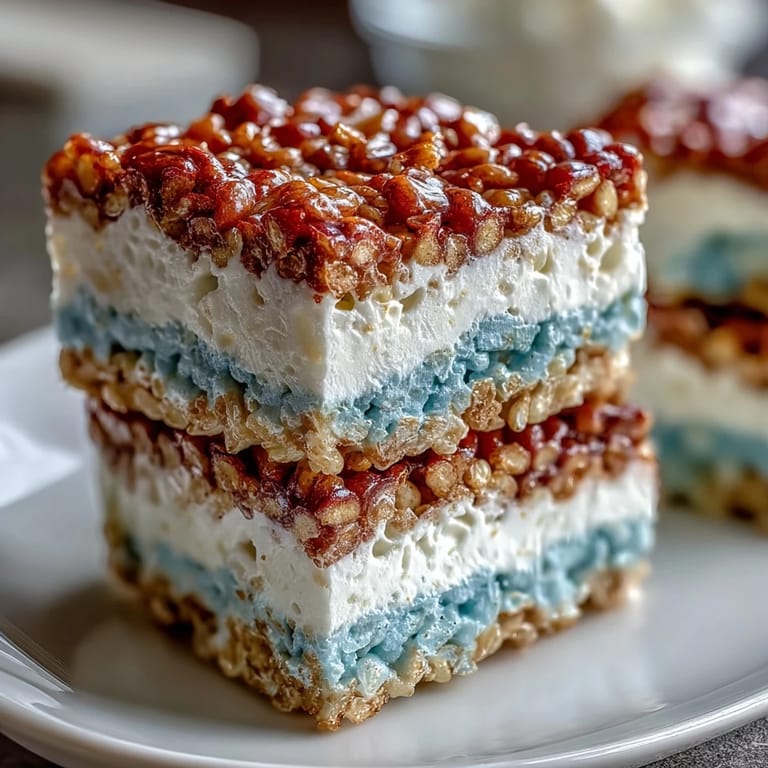
 My neighbor knocked on the door that Fourth of July morning with her three kids in tow, asking if I had any last-minute dessert ideas for the block party. I remembered these treats from childhood—that moment when marshmallow goo coated your fingers and you watched colors swirl into being—and thought, why not make them patriotic? Within an hour, I had three layers stacked in the pan, and by the time the fireworks started, those red, white, and blue squares were the first things to disappear from the dessert table.
That afternoon, watching my five-year-old cousin carefully press the blue layer into place while humming off-key felt oddly meaningful—she was concentrating so hard, her tongue poking out slightly, completely unaware that what she was doing would become someone's favorite memory of that day.
Ingredients
- Rice Krispies cereal: You need six cups total, which sounds like a lot until you realize you're dividing it three ways—use the full six cups because skimping makes the layers too dense and chewy.
- Mini marshmallows: One 10-ounce bag gives you enough for three generous layers; mini marshmallows melt more evenly than large ones, so don't substitute.
- Unsalted butter: Three tablespoons total (one per layer) prevents the treats from tasting overly rich, and separating it out helps you think in thirds.
- Vanilla extract: Half a teaspoon goes into just the white layer, giving it a subtle sweetness that makes you pause and wonder what that flavor is.
- Red gel food coloring: A few drops create that vibrant flag color—gel stays truer than liquid, which can water down your mixture and ruin the texture.
- Blue gel food coloring: Same logic as the red; trust gel over liquid every time if you want colors that actually pop.
- Red, white, and blue sprinkles (optional): These are pure theater, but they catch the light and make the finished treats look like they took way more effort than they did.
Tired of Takeout? 🥡
Get 10 meals you can make faster than delivery arrives. Seriously.
One email. No spam. Unsubscribe anytime.
Instructions
- Set up your workspace:
- Line a 9x9-inch baking pan with parchment paper and give it a light grease so your finished treats slide out cleanly. This small step saves you from frustration later.
- Portion everything first:
- Divide your marshmallows into three piles of about 3⅓ cups each and measure your butter into three tablespoon portions. Working this way keeps you organized and prevents the middle layers from looking stingy.
- Make the red layer:
- Melt one tablespoon of butter over low heat, then add your first batch of marshmallows, stirring constantly until they're completely smooth and glossy. Once melted, add just a few drops of red gel coloring and stir until you reach that perfect patriotic shade, then fold in two cups of Rice Krispies, moving quickly before everything sets.
- Press it down:
- Transfer the warm mixture to your pan and press it evenly across the bottom using a lightly buttered spatula or your fingers. Don't press so hard that you compress it into a brick—you want it snug but still tender.
- Build the white layer:
- Wipe your saucepan clean to remove any red bits, then repeat the melting process with your second butter and marshmallow portion, this time stirring in vanilla extract instead of food coloring. The vanilla gives this middle layer a quiet sweetness that balances everything.
- Stack it up:
- Carefully press the white mixture over the red layer, using the same gentle-but-firm technique. The warmth of the new layer will help it bond slightly with the layer beneath.
- Finish with blue:
- Wipe the pan one more time, then melt your final butter and marshmallow batch, stir in blue coloring until it's the shade you want, mix in the last two cups of Rice Krispies, and press it all into place as the grand finale. At this point your pan is full of patriotic layers and smells absolutely incredible.
- Optional sparkle:
- If you're using sprinkles, scatter them over the warm blue layer now while it's still slightly tacky enough to hold them. They'll catch the light when the treats are cut and served.
- Let it set:
- This is the hardest part because the treats look done after 15 minutes, but give them a full hour to cool and firm up. Cutting too early results in crumbly edges and melting layers, which is disappointing after you've come this far.
- Release and cut:
- Lift the whole slab out of the pan using the parchment paper overhang, place it on a cutting board, and use a sharp knife to cut it into 16 squares, wiping your blade between cuts to keep the lines clean.
 Pin It
 What stuck with me most wasn't actually the taste—though they were delicious—but the moment when someone cut into the pan and gasped because the three layers showed so cleanly, like you could see the whole thing coming together. It felt like a small magic trick you'd pulled off in your kitchen.
Why Gel Coloring Changes Everything
The first time I made these, I used liquid food coloring because it was what I had on hand, and the result was a gummy, slightly damp mess that never quite firmed up right. Gel coloring is thicker and more concentrated, so you use less of it and don't add any moisture to your marshmallow mixture. It's a small difference that makes a huge difference in the final texture.
The Cooling Period Is Not Negotiable
I know the treats look completely set after 20 minutes, and you'll be tempted to cut into them early, but the layers need time to bond and firm up properly. If you cut too soon, the layers slide apart and it feels like failure—wait the full hour and you'll have perfect, clean squares that hold together beautifully.
Making These Feel Special
These treats are inherently festive, but a few small touches turn them from sweet to memorable. You can dust them with edible glitter, cut them with cookie cutters for fun shapes, or arrange them on a platter with a flag stuck in the center for extra patriotic flair. The beauty of this recipe is how willing it is to become whatever you need it to be.
- Cut them with a hot, wet knife for cleaner edges that look more polished.
- Store them in an airtight container away from humidity, and they'll stay fresh for up to three days.
- Make a double batch because they disappear faster than you'd think, especially at parties where kids are around.
 Pin It
 These treats remind me that sometimes the simplest recipes become the ones people talk about for years after. They're not fancy, but they carry celebration in every layer.
Recipe Questions & Answers
- → How do I get vibrant colors for each layer?
Use gel food coloring rather than liquid to achieve bright, vivid shades without affecting texture.
- → Can I prepare this treat ahead of time?
Yes, after assembling and cooling for at least an hour, store them in an airtight container for up to 3 days.
- → What is the best way to prevent sticking while layering?
Lightly grease hands or a spatula when pressing layers to avoid sticking and ensure an even surface.
- → Is there a way to enhance flavor beyond the basic ingredients?
A pinch of salt or salted butter can add depth and balance to the sweetness of the marshmallow layers.
- → Are there any common allergens in these treats?
Yes, they contain milk from butter and possibly gelatin in marshmallows; check labels if allergies are a concern.