 Pin It
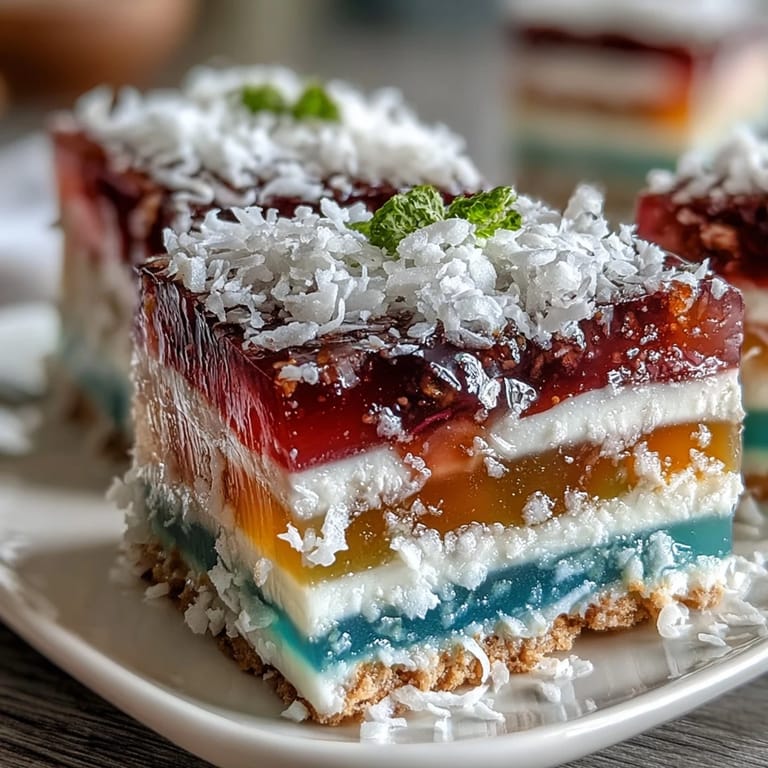
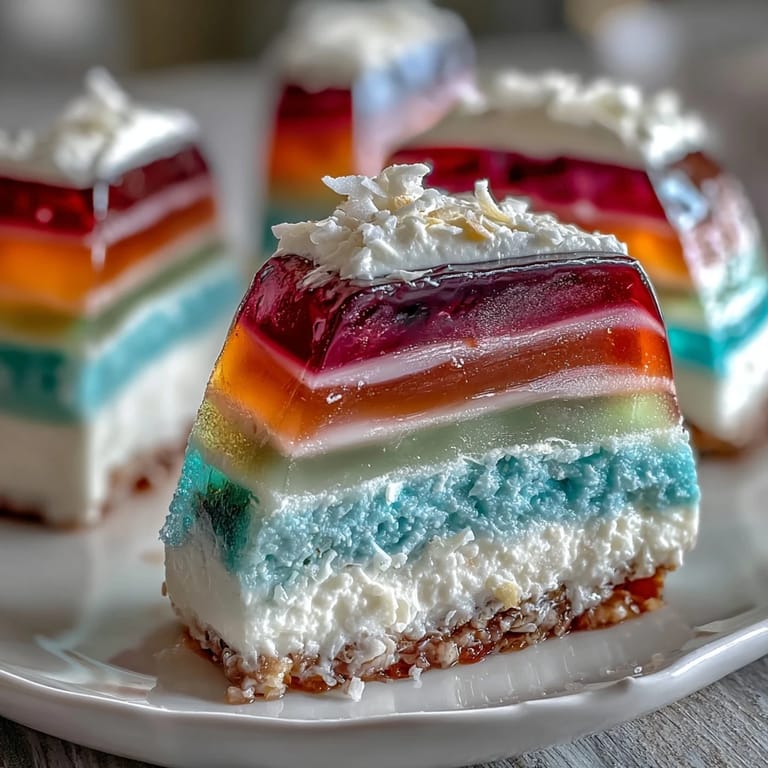
 There’s something about the vibrant colors of a rainbow jelly cake that instantly lifts the spirits, isn’t there? The first time I laid eyes on one at a friend's summer barbecue, I couldn't resist marveling at the layers of cheerful hues shimmering beneath the sunlight. When I attempted to recreate it at home, I practically danced around the kitchen, excited to mix, pour, and watch each layer come to life. The sweet, fruity aroma filled the air, and I knew I was on to something truly magical. This Agar-Agar Rainbow Jelly Cake isn’t just a dessert; it’s a celebration in every slice!
One sunny afternoon, I decided to make this jelly cake for my niece's birthday party. As I poured each layer, the kids gathered around, eyes wide with anticipation, whispering about how they would love to taste every color. Their laughter and squeals of delight filled the kitchen, making each layer I poured even more special. When the cake was finally revealed, it was met with cheers and a chorus of, 'Wow, it's like a rainbow!' Those are the moments that stay with you long after the last slice is gone.
Ingredients
- Water: This is the base for the jelly, so the quality matters—filtered water works best!
- Agar-agar powder: This plant-based gelatin is the secret to making this dessert vegan-friendly and helps achieve that perfect, bouncy texture.
- Granulated sugar: It sweetens the jelly; feel free to adjust to your taste.
- Vanilla extract: Adds an aromatic warmth that enhances the flavor of the layers.
- Gel food coloring: Essential for that vibrant, eye-catching effect—feel free to use your favorite colors!
- Fruit juice: Optional, but it adds a delightful natural flavor to each layer.
- Coconut milk: The rich, creamy element that brings indulgence to the dessert, trust me, it’s a must!
- Salt: Just a pinch helps round out the sweetness.
Tired of Takeout? 🥡
Get 10 meals you can make faster than delivery arrives. Seriously.
One email. No spam. Unsubscribe anytime.
Instructions
- Prepare the Jelly Base:
- Start by combining 2 liters of water with 16 g of agar-agar powder in a large saucepan. Bring it to a boil over medium heat while stirring constantly; you'll see it become beautifully translucent.
- Divide and Color Jelly:
- Once the agar is dissolved, evenly divide this mixture into six bowls; keep them warm! Add a few drops of different gel food coloring to each for that vibrant rainbow.
- Assemble Layers:
- Pour the first colored layer into a rectangular cake pan and chill for about 10–12 minutes until just set. Continue pouring each color, allowing time to chill between layers, until you have a full rainbow.
- Prepare the Coconut Cream:
- In a clean saucepan, stir together 400 ml of coconut milk, 4 g of agar-agar powder, 40 g of sugar, and a pinch of salt, and bring it to a gentle boil while stirring until fully dissolved.
- Top with Coconut Cream:
- Cool the coconut cream slightly before pouring it gently over the rainbow jelly. Let the entire cake set in the refrigerator for at least 2 hours for the best results.
- Serve:
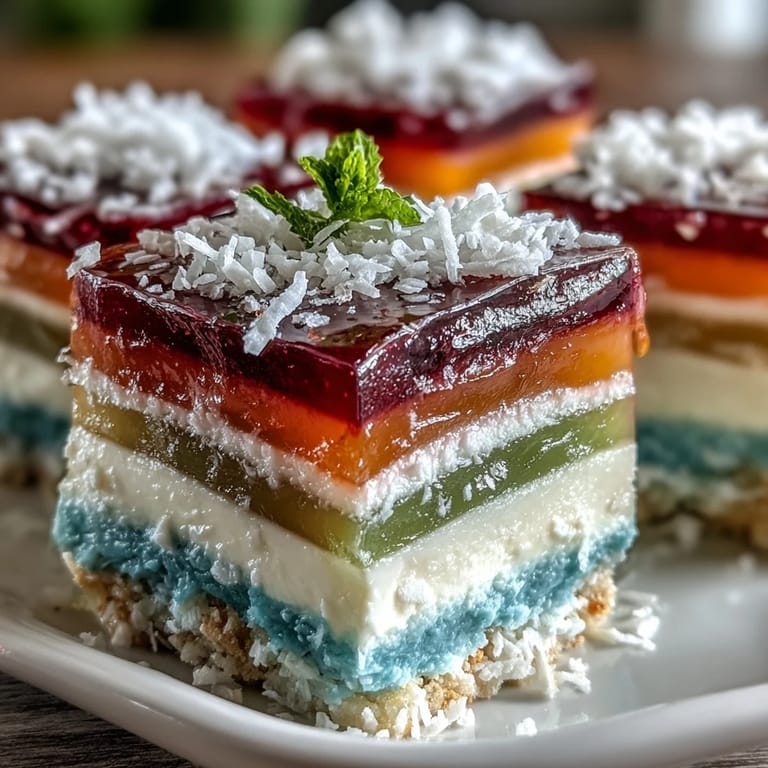
- To serve, gently loosen the edges with a thin knife and invert it onto a plate, revealing that beautiful rainbow! Cut into slices and enjoy it chilled.
 Pin It
  Pin It
 This jelly cake represents more than just a dessert for me; it embodies the laughter and joy of gatherings. Sharing it with friends and family has turned it into my go-to choice for celebrations, solidifying its special place in my recipe repertoire.
Fun Tips for a Stunning Dessert
Don't be afraid to get creative with flavors; experimenting with different fruit juices makes each cake unique. And remember, a little patience goes a long way; it's worth allowing each layer to set properly for that ideal outcome!
Making It Your Own
Consider adding diced fruits between the layers to surprise your guests with delightful textures. You can switch things up by using different fruit juices to match the occasion, transforming the flavor effortlessly.
Storage and Serving Suggestions
This cake is best enjoyed fresh, but you can store leftovers in the fridge for up to three days.
- To elevate presentation, serve with a sprinkle of toasted coconut on top.
- Pair with a scoop of vegan ice cream for a delightful contrast.
- Don’t forget, it looks stunning in individual silicone molds!
 Pin It
  Pin It
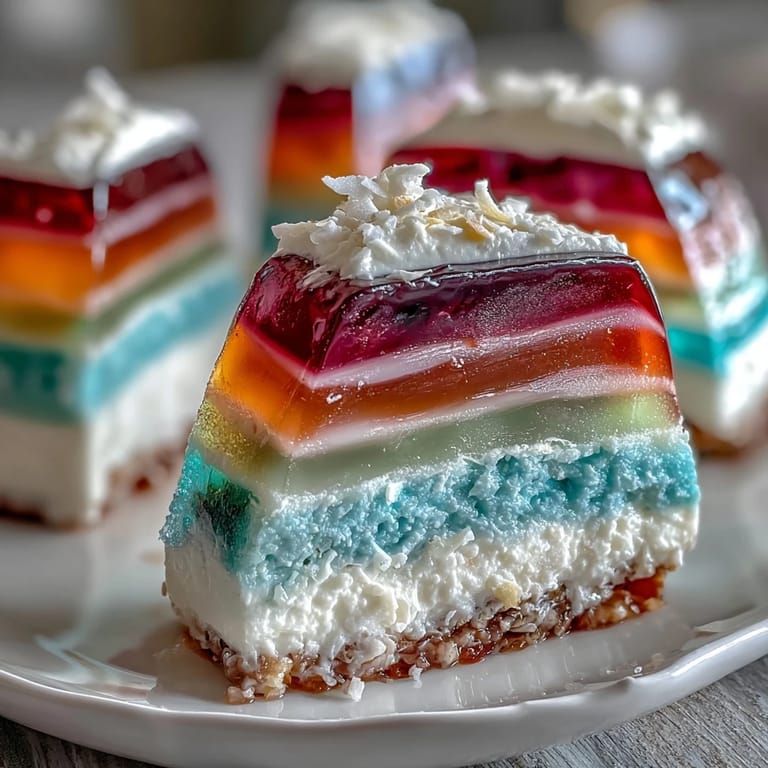
 After all, cooking is about creating joyful moments, and this cake is sure to bring smiles around the table.
Recipe Questions & Answers
- → Can I use other colors for the jelly layers?
Yes, you can use any gel food coloring of your choice to create different colors for the jelly layers.
- → Is this dessert suitable for gluten-free diets?
Absolutely! This Agar-Agar Rainbow Jelly Cake is inherently gluten-free, making it perfect for those with gluten sensitivities.
- → How long does the cake need to set?
The cake needs to set in the refrigerator for at least 2 hours for a proper firmness.
- → Can I add fruit between the jelly layers?
Yes, adding diced fruit can provide extra texture and enhance the flavor of the layers.
- → What can I use instead of coconut milk?
You can substitute any plant-based milk if you prefer, but adjust sweetness to taste.